Back
How to Take Stunning Photographs of Jewelry
By Mindmink
Learn expert tips to capture jewelry photos that shine—build trust, show detail, and elevate your brand.
Introduction
High-quality jewelry photos do more than just show what you’re selling — they build trust, highlight craftsmanship, and help customers imagine owning it. Whether you're selling on your own site, via marketplaces, or promoting on Instagram, these tips will help you present your pieces at their best.
1. Prepare Before Shooting
Clean & polish your pieces
Dust, fingerprints, smudges or small scratches are highly visible in macro jewelry photography. Clean carefully (using an ultrasonic cleaner if safe, soft lint-free cloths, or jewelry cleaning solutions) just before photographing.
Choose which pieces & details to highlight
Decide which items or features deserve attention. Is it the gemstone cut, the hallmark, the setting detail, the clasp, or a set (necklace + earrings)? Plan to photograph all key views: front, side, back, close-ups of details, scale reference, etc.
Use props and staging thoughtfully
Minimal props help maintain focus on the piece. Consider:
- A neutral, clean background (white, light gray, black, or muted tones).
- A jewelry stand, bust, or props that match your brand aesthetic (e.g. velvet pad, slate tile).
- Use simple fillers like soft fabric, gentle drape, or stones for context—but avoid clutter.
- Consider including a scale reference (e.g. coin, ruler, or scale bar) especially for smaller pieces.
Plan lighting & environment
Lighting is critical in jewelry photography. Natural or soft, diffused light is often ideal. Avoid harsh direct lights that create glare or strong reflections. Use a lightbox or softbox if available. Block unwanted ambient reflections (walls, windows, your camera, etc.).
Prepare your camera/gear
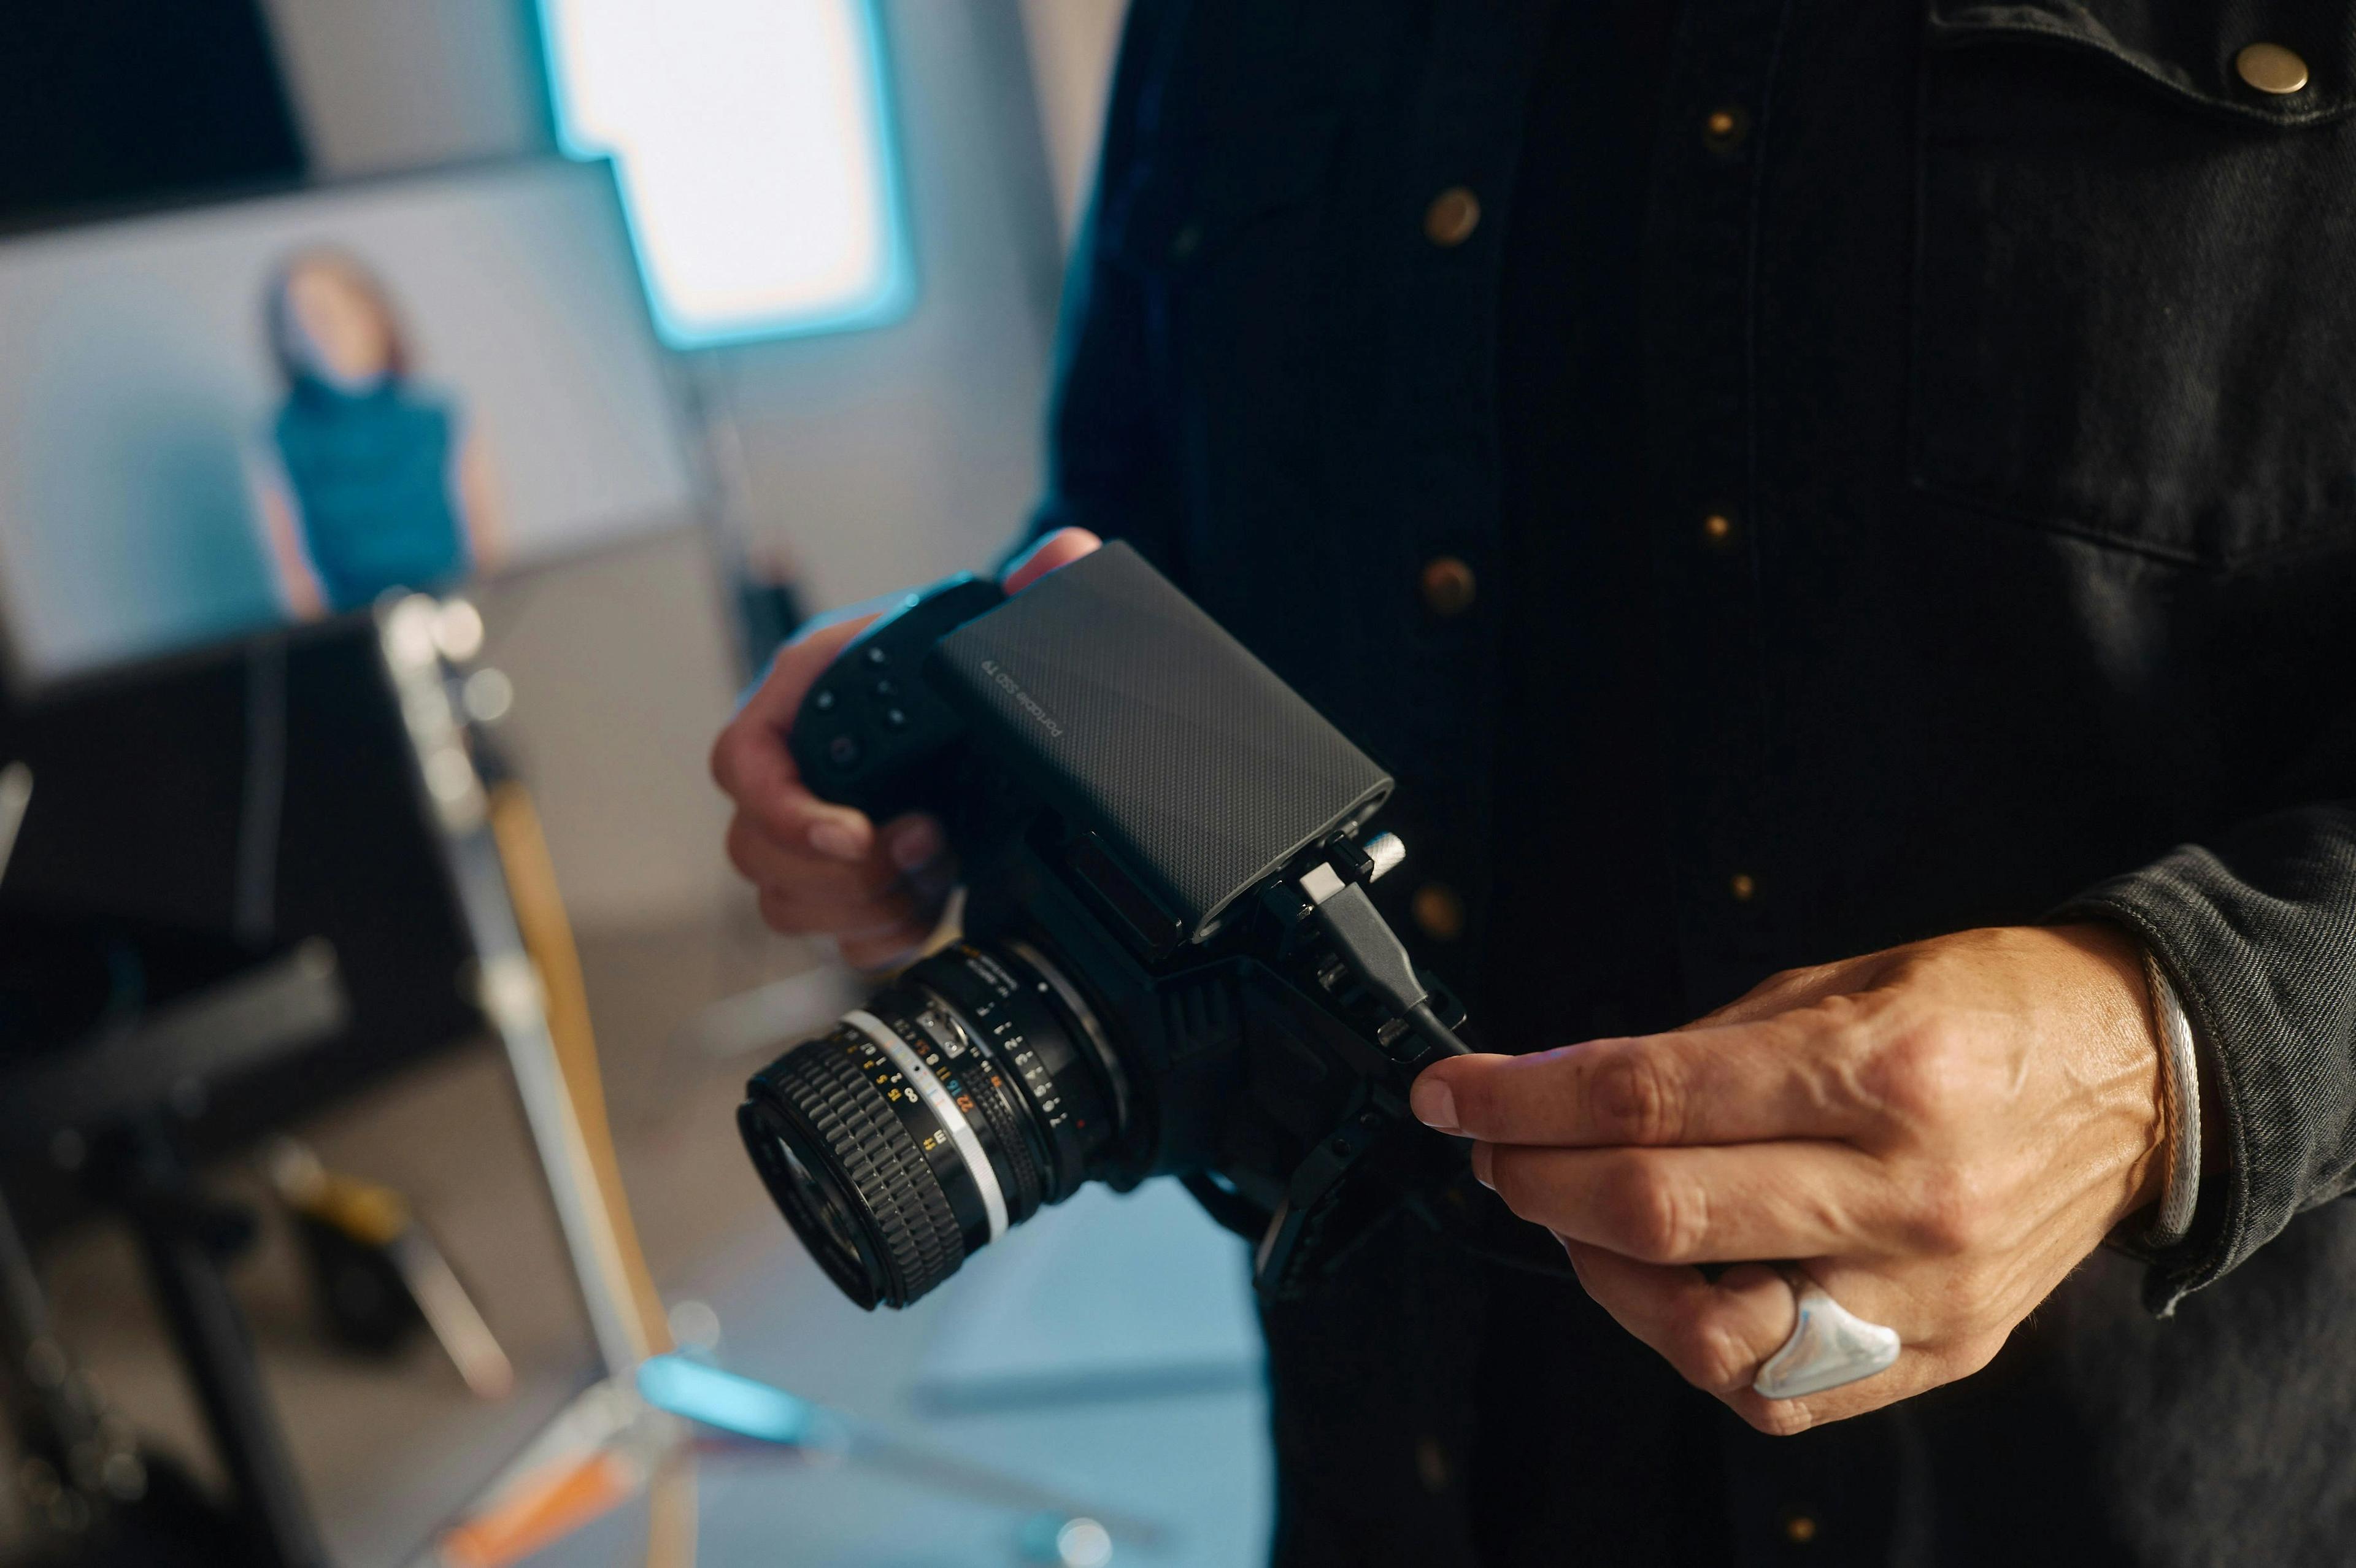
You don’t always need a pro DSLR. A good mirrorless, point-and-shoot, or even a modern smartphone with good macro lens can work — as long as you control light and focus. Use a tripod or stable surface to avoid blur. Enable a grid or guidelines to help with alignment. Use manual / semi-manual modes if possible (focus, aperture, ISO).
2. How to Shoot (Techniques & Best Practices)
Turn off direct flash; use diffused lighting
Direct flash often causes harsh reflections or “hot spots.” If you need extra light, bounce it or diffuse through soft material. Use multiple light sources from different angles to reduce harsh shadows.
Use macro / close-up mode & focus carefully
For small jewelry, you likely want to use a macro lens or macro mode. Pay attention to focus — often the most critical point is the gemstone, hallmark, or detail. If your camera allows, use focus stacking to combine sharpness from multiple exposures.
Shoot multiple perspectives
Don’t just photograph a single straight-on view. Include:
- Front / full view
- Side / profile
- Back / clasp / closure
- Angle / 3D view
- Extreme close-up of the stone, prongs, texture, hallmark, engraving
- Scale shot (to show size)
Align, center & avoid tilt
Use grid lines to keep your jewelry straight and avoid tilting. Center or compose intentionally (e.g. place the stone in a “strong” position). Keep the camera lens parallel to the jewelry plane when appropriate.
Vary depth of field
Use a moderately wide aperture (e.g. f/5.6 to f/11 depending on your setup) to keep most of the piece in focus but softly blur background. For extremely small features, shallow depth may work—but ensure the key part is sharp.
Manage reflections
Jewelry (especially metal and gemstones) is highly reflective. To reduce unwanted reflections:
- Use a light tent / diffuser.
- Use black cards or flags to block reflections from surroundings.
- Change angles slightly to avoid catching the camera/lens in the reflection.
- Clean everything around your setup (floor, walls, you) to avoid stray reflections creeping in.
Shoot RAW or highest quality
If your camera supports RAW (or an uncompressed highest quality format), shoot in that. It gives you more flexibility for post-processing (white balance, exposure recovery, sharpness) without degrading image quality.
3. Post-Processing & Editing
Basic corrections
Adjust brightness, contrast, highlights/shadows to get balanced exposure. Be careful not to overdo — your goal is realism and appeal, not artificial sparkle.
Color correction & white balance
Ensure the metal tone (silver, gold, rose gold) and gemstone hues appear true to life. Use reference color charts or known objects if needed. Correct white balance so that the background is neutral (white / gray) unless your brand style uses a tinted background.
Crop, straighten, rotate
Use cropping to center or improve composition. Straighten any alignment issues. Remove distractions from edges.
Sharpening & noise reduction
Apply sharpening selectively (on the piece) but avoid over-sharpening which creates halos or artifacts. Use noise reduction for background or darker areas, preserving detail in the jewelry itself.
Retouching & cleaning
Remove minor dust specks or lint using spot tools, clone/heal tools. Be careful not to alter the piece itself or misrepresent it.
Export in appropriate settings
For web/ecommerce: export JPEG/PNG at sufficient resolution (e.g. 2000+ px on longest side) and optimized size (balance quality + file size). Use sRGB color profile. Keep master RAW files archived.
4. Organizing & Presenting Your Photos
Plan a “photo tour” or gallery flow
When you upload, lead the viewer through the piece step by step: full shot → detail shots → scale shot → alternate angles.
Captioning & context
Add captions or short descriptions with each photo where helpful: e.g. “View from side showing prong height,” “Close-up of hallmark stamp,” “10 mm peridot center stone.” Explain what the photo doesn’t show (e.g. “chain clasp not visible in this angle”).
Use high-resolution uploads
Allow zooming in — upload at high enough resolution, so customers can inspect details closely.
Group by collections / sets
If you sell matching sets, show them together (e.g. necklace + earrings). Also group similar styles to help buyers compare.
Mobile-first considerations
Many buyers will see your photos on mobile. Check how images appear on phones: ensure the main piece is prominent, not too small. Avoid excessive negative space that shrinks the subject on narrow screens.
5. Extra Tips & Advanced Ideas
- Try focus stacking by taking multiple shots focused on different parts of the jewelry and merging them in editing software to achieve complete sharpness.
- Add short videos or 360° spin shots to show how the jewelry reflects light and moves from different angles.
- Include lifestyle or model photos to help customers visualize the size, fit, and look of each piece when worn.
- Experiment with backgrounds and textures such as marble, wood, leather, or velvet to create depth, but make sure they don’t distract from the jewelry.
- Use macro reflectors or fill cards to bounce light into shaded areas or highlight gemstones from below for extra brilliance.
- Maintain consistent lighting, camera angles, and backgrounds across your collection to create a cohesive and professional appearance.